

Hey there! As a supplier of moisture cables, I often get asked about how to install a moisture cable in a plenum. In this blog post, I'm gonna walk you through the whole process step by step.
First off, let's talk about what a plenum is. A plenum is a space in a building that's used for air circulation, like the space above a dropped ceiling or below a raised floor. It's crucial to use the right kind of cable in a plenum because of fire safety regulations. Most plenum spaces require cables that are rated for plenum use, which means they're made of materials that won't produce a lot of smoke or toxic fumes if they catch on fire.
Now, let's get into the nitty - gritty of installing a moisture cable in a plenum.
Step 1: Planning
Before you start installing the cable, you need to have a solid plan. Figure out where you want to place the cable. Consider the areas in the plenum where you need to monitor moisture levels. For example, if it's a large commercial building, you might want to place the cable near areas where there's a higher risk of water leaks, like near HVAC units or plumbing.
Measure the distance that the cable needs to cover. This will help you determine how much cable you'll need. Make sure to add a little extra length to account for any bends or turns in the plenum.
Step 2: Gather Your Tools
You'll need a few tools for this job. Here's a list of what you'll typically need:
- Cable cutters: To cut the moisture cable to the right length.
- Cable ties: These are used to secure the cable in place.
- A drill (if needed): In some cases, you might need to drill holes to mount cable brackets.
- Screwdriver: For tightening screws on brackets or any other fixtures.
- Ladder: If the plenum is up high, you'll need a ladder to access it safely.
Step 3: Choose the Right Cable
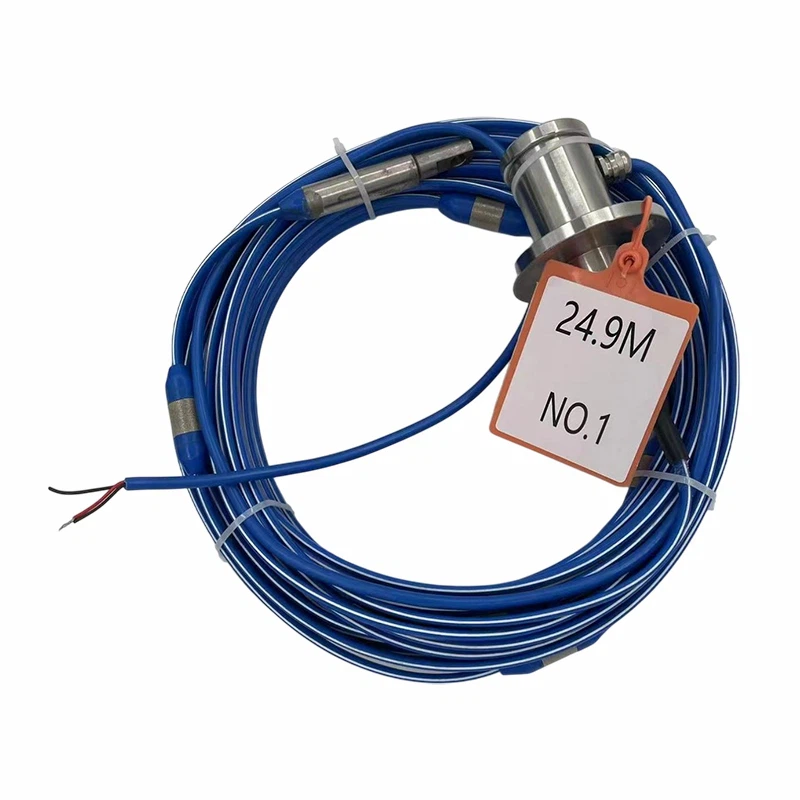
As a moisture cable supplier, I can tell you that there are different types of moisture cables out there. For a plenum, you'll want to choose a cable that's plenum - rated. We offer a few great options, like the Dedicated Temperature And Humidity Sensor Cable For Grain Silos, which is not only good for grain silos but can also be used in some plenum applications where accurate temperature and humidity monitoring is required. Another option is the Grain Moisture - proof Cable, which is designed to withstand moisture and can be a great fit for plenum environments. And of course, our Moisture - proof Cable is also a popular choice. It's built to resist moisture and is suitable for plenum use.
Step 4: Install Cable Brackets (if necessary)
If you're using cable brackets to hold the cable in place, now's the time to install them. Use the drill and screwdriver to attach the brackets to the plenum structure. Make sure the brackets are evenly spaced along the path where you'll be running the cable. The spacing will depend on the type of cable and the weight it has, but typically, you can space them every few feet.

Step 5: Run the Cable
Start at one end of the plenum and carefully run the cable along the planned path. Use cable ties to secure the cable to the brackets or other structures in the plenum. Make sure the cable is not kinked or twisted as you run it. If there are any obstacles in the plenum, like pipes or ducts, carefully work the cable around them.
It's a good idea to have someone assist you, especially if the plenum is large or the cable is long. This way, one person can feed the cable while the other person secures it in place.
Step 6: Make Connections
Once the cable is in place, you'll need to make the necessary connections. Connect the cable to the moisture monitoring device. This could be a simple moisture meter or a more complex building management system. Follow the manufacturer's instructions for making these connections. Usually, it involves stripping the ends of the cable and connecting them to the appropriate terminals on the monitoring device.
Step 7: Test the System
After making the connections, it's time to test the system. Turn on the moisture monitoring device and check if it's receiving data from the cable. You can do a simple test by creating a small amount of moisture near the cable (but don't overdo it). The monitoring device should register an increase in moisture levels. If there are any issues, double - check your connections and make sure the cable is properly installed.
Step 8: Final Checks
Once the system is working, do a final check of the installation. Make sure all the cable ties are tight and that the cable is secure. Check for any signs of damage to the cable or any loose connections. If everything looks good, you're all set!
Troubleshooting Tips
If you run into problems during the installation or testing, here are some common issues and how to fix them:
- No data from the cable: Check the connections to the monitoring device. Make sure the cable is properly connected and that there are no loose wires. Also, check if the cable is damaged.
- Inaccurate readings: This could be due to a faulty cable or a problem with the monitoring device. Try replacing the cable or calibrating the monitoring device according to the manufacturer's instructions.
In conclusion, installing a moisture cable in a plenum isn't too difficult if you follow these steps. It's all about proper planning, using the right tools and cable, and making sure the connections are secure.
If you're interested in purchasing moisture cables for your plenum or any other application, feel free to reach out. We're here to help you find the right solution for your moisture monitoring needs. Whether it's a small residential building or a large commercial complex, we've got the products and expertise to support you.
References
- General knowledge from years of experience as a moisture cable supplier.
- Manufacturer's guides for moisture cables and monitoring devices.